 Frete Grátis em todos os produtos


### Descrição do Produto
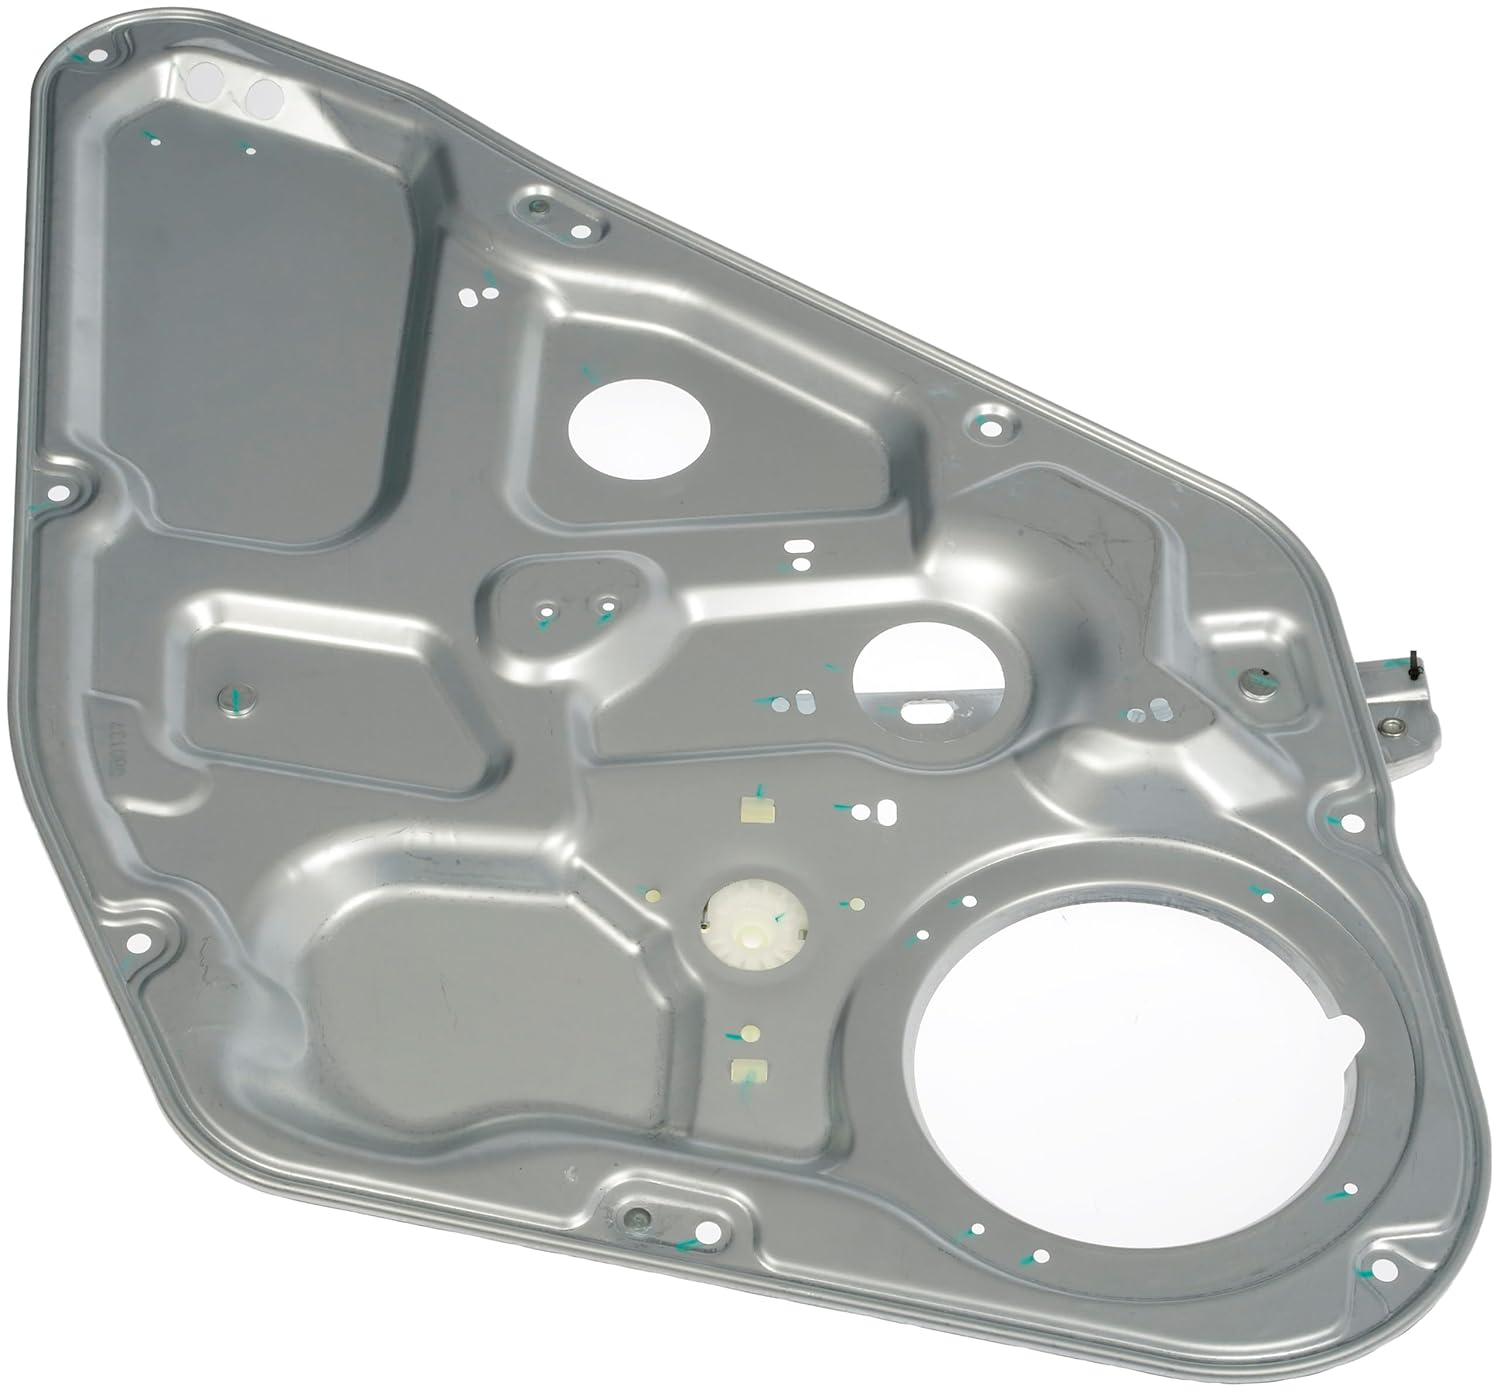
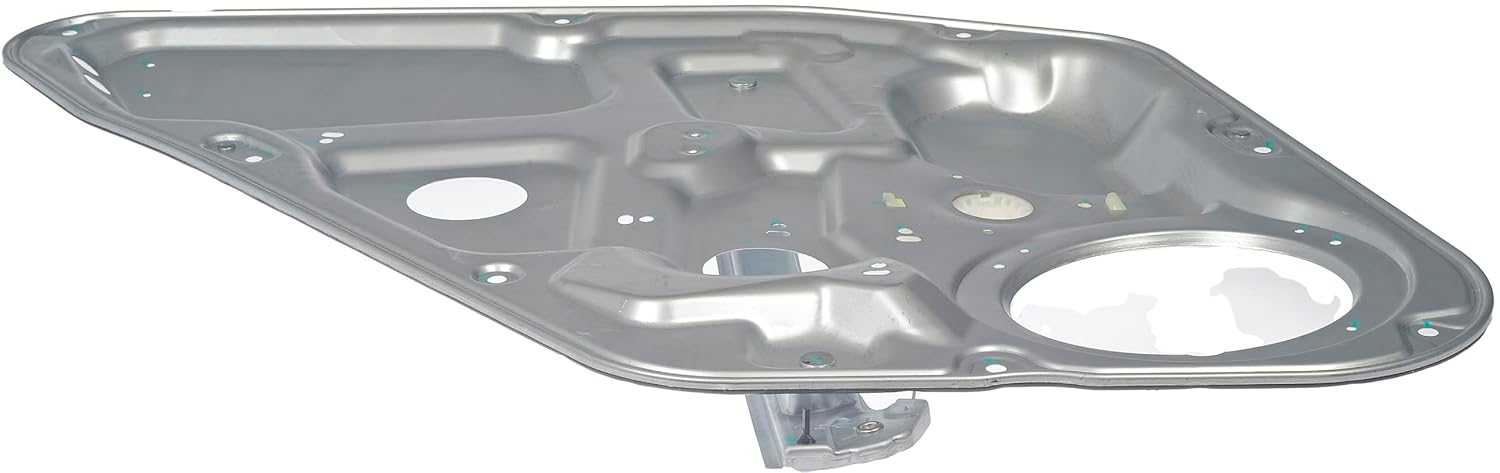
O regulador de janela elétrica Dorman 749-323 para o lado traseiro do passageiro é a solução ideal para quem busca um substituto confiável e de alta qualidade para o regulador de janela original de modelos selecionados da Hyundai. Este produto foi meticulosamente projetado e testado para garantir que se encaixe perfeitamente, funcione de maneira eficiente e ofereça um desempenho equivalente ao do regulador original.
Com um compromisso com a qualidade, o Dorman 749-323 passou por testes rigorosos, incluindo ciclos de operação em portas de veículos reais, garantindo uma vida útil longa e sem problemas. A engenharia deste regulador é realizada nos Estados Unidos, respaldada por uma longa história de experiência no mercado de peças automotivas, o que assegura um design confiável e durável.
A instalação do Dorman 749-323 é simples e direta, pois foi projetado para corresponder à forma e dimensões do equipamento original. Isso proporciona um encaixe perfeito, eliminando a necessidade de modificações ou adaptações complicadas. Para garantir que este componente se encaixe exatamente no seu veículo, utilize a ferramenta de compatibilidade, inserindo a marca, modelo e nível de acabamento do seu carro.
### Instruções de Uso:
Para instalar o regulador de janela Dorman 749-323, siga os passos abaixo:
1. Desconecte a Bateria: Antes de iniciar a instalação, desconecte a bateria do veículo para evitar qualquer curto-circuito.
2. Remova o Painel da Porta: Utilize uma chave de fenda para remover os parafusos e clipes que seguram o painel da porta. Tenha cuidado para não danificar os clipes.
3. Desconecte o Regulador Antigo: Desconecte os fios do regulador de janela antigo e remova-o da porta.
4. Instale o Novo Regulador: Coloque o Dorman 749-323 na posição correta e conecte os fios conforme necessário.
5. Recoloque o Painel da Porta: Após a instalação, recoloque o painel da porta e fixe-o com os parafusos e clipes.
6. Reconecte a Bateria: Por fim, reconecte a bateria e teste o funcionamento da janela.
### Características do Produto
– Substituição Confiável: Projetado para corresponder ao regulador de janela original em veículos Hyundai selecionados.
– Qualidade Garantida: Testado extensivamente para garantir um ciclo de vida prolongado e sem falhas.
– Design Confiável: Engenharia americana com uma longa história de experiência no mercado automotivo.
– Instalação Fácil: Projetado para um encaixe direto, sem necessidade de modificações.
– Compatibilidade: Utilize a ferramenta de compatibilidade para garantir que o produto se encaixa no seu veículo específico.
### Perguntas Frequentes (FAQ)
Pergunta: O Dorman 749-323 é compatível com meu modelo de Hyundai?
Resposta: Para garantir a compatibilidade, utilize a ferramenta de compatibilidade inserindo a marca, modelo e nível de acabamento do seu veículo.
Pergunta: É difícil instalar o regulador de janela Dorman 749-323?
Resposta: Não, a instalação é projetada para ser simples e direta, com um encaixe perfeito que não requer modificações.
Pergunta: O que fazer se a janela não funcionar após a instalação?
Resposta: Verifique se todos os fios estão conectados corretamente e se a bateria do veículo está funcionando. Se o problema persistir, consulte um profissional.
Pergunta: Qual é a garantia do produto?
Resposta: O Dorman 749-323 é respaldado por uma garantia que cobre defeitos de fabricação, garantindo a qualidade e a durabilidade do produto.
Pergunta: O regulador de janela Dorman 749-323 é feito nos EUA?
Resposta: Sim, o produto é projetado e fabricado nos Estados Unidos, garantindo um padrão elevado de qualidade e confiabilidade.


KBDunham –
This was the best price around. Exact fit for what I needed. Installation wasn’t too difficult. Just be sure to give it a good push when you are forcing the guide off the window. It takes a lot of force. Once you get that free, the panel comes right out with ease.
DIY Guy –
What a life saver. Have a 2006 Hyundai Sonata GLS-4 cylinder and my rear window dropped into the door.
Product fits like a glove and was easy for my mechanic to install. Wish I could have replaced it myself but
you have to grind off the rivets that hold the vertical elevator off on the door side in order to get the window
glass to separate from the white elevator on the other side (yah, not fun). Product comes with zip tie type
rivets for the speaker as you have to drill out the rivets around the speaker in order to remove (yah, not fun again).
Nevertheless this product was so much more cheaper, available next day and fits. God I love Amazon. They are stocking more
and more automobile parts everyday that beat my local dealers all day long. I also bought the window motor as it does not
come with this assembly (cheap at ~$60-guess where I bought it at-YUUUUpp Amazon!)
Jimmy Adams –
Not 100% OEM because of the cable ties, but it did fix my windows. The rubber round cover from my 2007 did not fit the hole so had to remove the outer seal ring. This is not a straight out the box fit. You still have to change cable clips, drill out the speaker off the original and bolt them to the new one. Also removing the plastic alignment piece on the top corner makes it easier to install.
Chris –
The holes for the wiring harness to snap in are circles so they have to be enlarged. Also, the hole for the rubber door used to access the window screw is way too small. It took a lot of cutting to get everything to fit. I also had an issue with the bracket that is riveted on the panel that the armrest screws into. The bracket was loose and the hole wasn’t drilled for the armrest screw.
Terry J. Locke –
I start ALL my reviews at 5 stars, then work my way down if there are issues. Just like everyone else said, there are 3 different modifications needed (recommended) to make this panel fit like the original. The first, which is NOT the manufacturer’s fault is the speaker mount. The speaker is riveted to the panel. Thus, you have to drill out the rivets to remove the speaker, then use screws to mount it to the new panel. I have a ton of hardware and found some small nuts and bolts to mount mine. Other than having to be careful drilling out the rivets, remounting is pretty straight forward.
The second issue is the opening to access the screw that holds the window to the elevator. This panel has a smaller hole. So in order to make the rubber grommet/flap fit, it has to be enlarged. Here’s my trick: I used a small grinder and went around and around the opening until the lip started to come free. I continued hitting the thicker parts until it all came off at about the same time. This basically insured that the opening maintained it’s shape. I still had to grind a bit more after the lip came off. Measure a few times during the process so you don’t make the hole too big. Use a small file around the final hole to remove burrs. Although my opening was not perfectly round, the rubber grommet fit right on.
The third issue is the holes for the wiring harness mounting clips. Yup, they’re round but the original panel holes are OVAL to fit the oval clips. Different people used different techniques to make them oval. I used a drill bit (like a grinder) and patiently drilled from one side to the other. Two things: use a bit SMALLER than the hole as it tends to bounce around which would make it bigger than needed, and the bit tends to move in a direction different than the direction you are pushing it to go. My ovals were somewhat sloppy looking, but they only need to fit the clips. Again, measure a few times during the process so you don’t over do it, and you might want to clean up the burrs with a file. Also, when drilling/grinding be careful that the bit doesn’t come in contact with other parts. I know, seems like a lot of work (which it is) but worth it.
Took me a few hours to do the job. The panel screw in the pocket behind the window switch did not fit. I just happened to have the exact same type of screw but just a little smaller that worked perfect. There are some other meaningless slight design differences, but the good news is everything else on the panel fit perfectly. So once you get past these hurddles, you will have a panel that is just like OEM.
I would gladly pay $20-30 MORE for this panel, not to mention give it a 5 star rating if it was manufactured identical to the original. My guess is it would cost the manufacturer next to nothing to correct the design flaws, and they could no doubt sell it for more.
Robin –
Man this job was a total B*tch. And the fact the the speaker is riveted into the regulator was so frustrating. Getting the window out of the plastic lift was extremely difficult to… but thats the cars fault not the product! The regulator fit great. Some minor differences but non that mattered. Very excited to have it fixed and its working great!
Boyd Johnson –
Watch a u-tube video to show how to do it. The hardest part was disconnecting the window from the old regulator. If you look at the new regulator you can see how the clip works. After a little persistence I got the window to disconnect from the regulator. The old cable ties would not fit through the new holes. I just used some new cable ties and it worked fine. The window works fine now.
O&A Resto –
Needs modifications to work drill extra holes and use zap straps as original clips dont work with this do not over tighten screw to hold window or you will smash it like i did . Works good if you know these things
Kenny K –
The part fits but the holes are not in the right place, plus missing holes., only had two holes to mount the window motor on, with McIvering you can make it work but would not recommend this for the 2007 Hyundai Sonota
Terry J. Locke –
As others have stated, be prepared for some modifications. The holes for the wiring harness clips are 7mm round and should be 7 x 11 cm oval. There are 5 clips, 2 on one side (the same side as the speaker) and 3 on the other (the inside door frame cavity). I used a rat tailed file to make the 3 holes for the inside clips oval. This took about an hour. You need to be careful not to get the filings into the mechanism. For the other 2 holes I bolted zip tie holders to the regulator. The hole for the removable plug for access to the window hold screw is to small and has a lip so the plug will not hold. I glued the plug in place. All other holes were correct in size and placement. There is very little information online on how to remove and reinstall the regulator, the motor, the wiring connectors and the window glass. You also need to drill out the speaker from the old regulator and bolt it into the new one. So this is not for a first timer. Take lots of pictures and make notes. In total I spent around 12 hours. Half of that was spent figuring out how to disassemble the unit and how to modify the new regulator. The attached picture shows the new regulator with the 3 modified clip holes, the two zip ties and the speaker mounted.
The regulator looked to be of good quality.