 Frete Grátis em todos os produtos


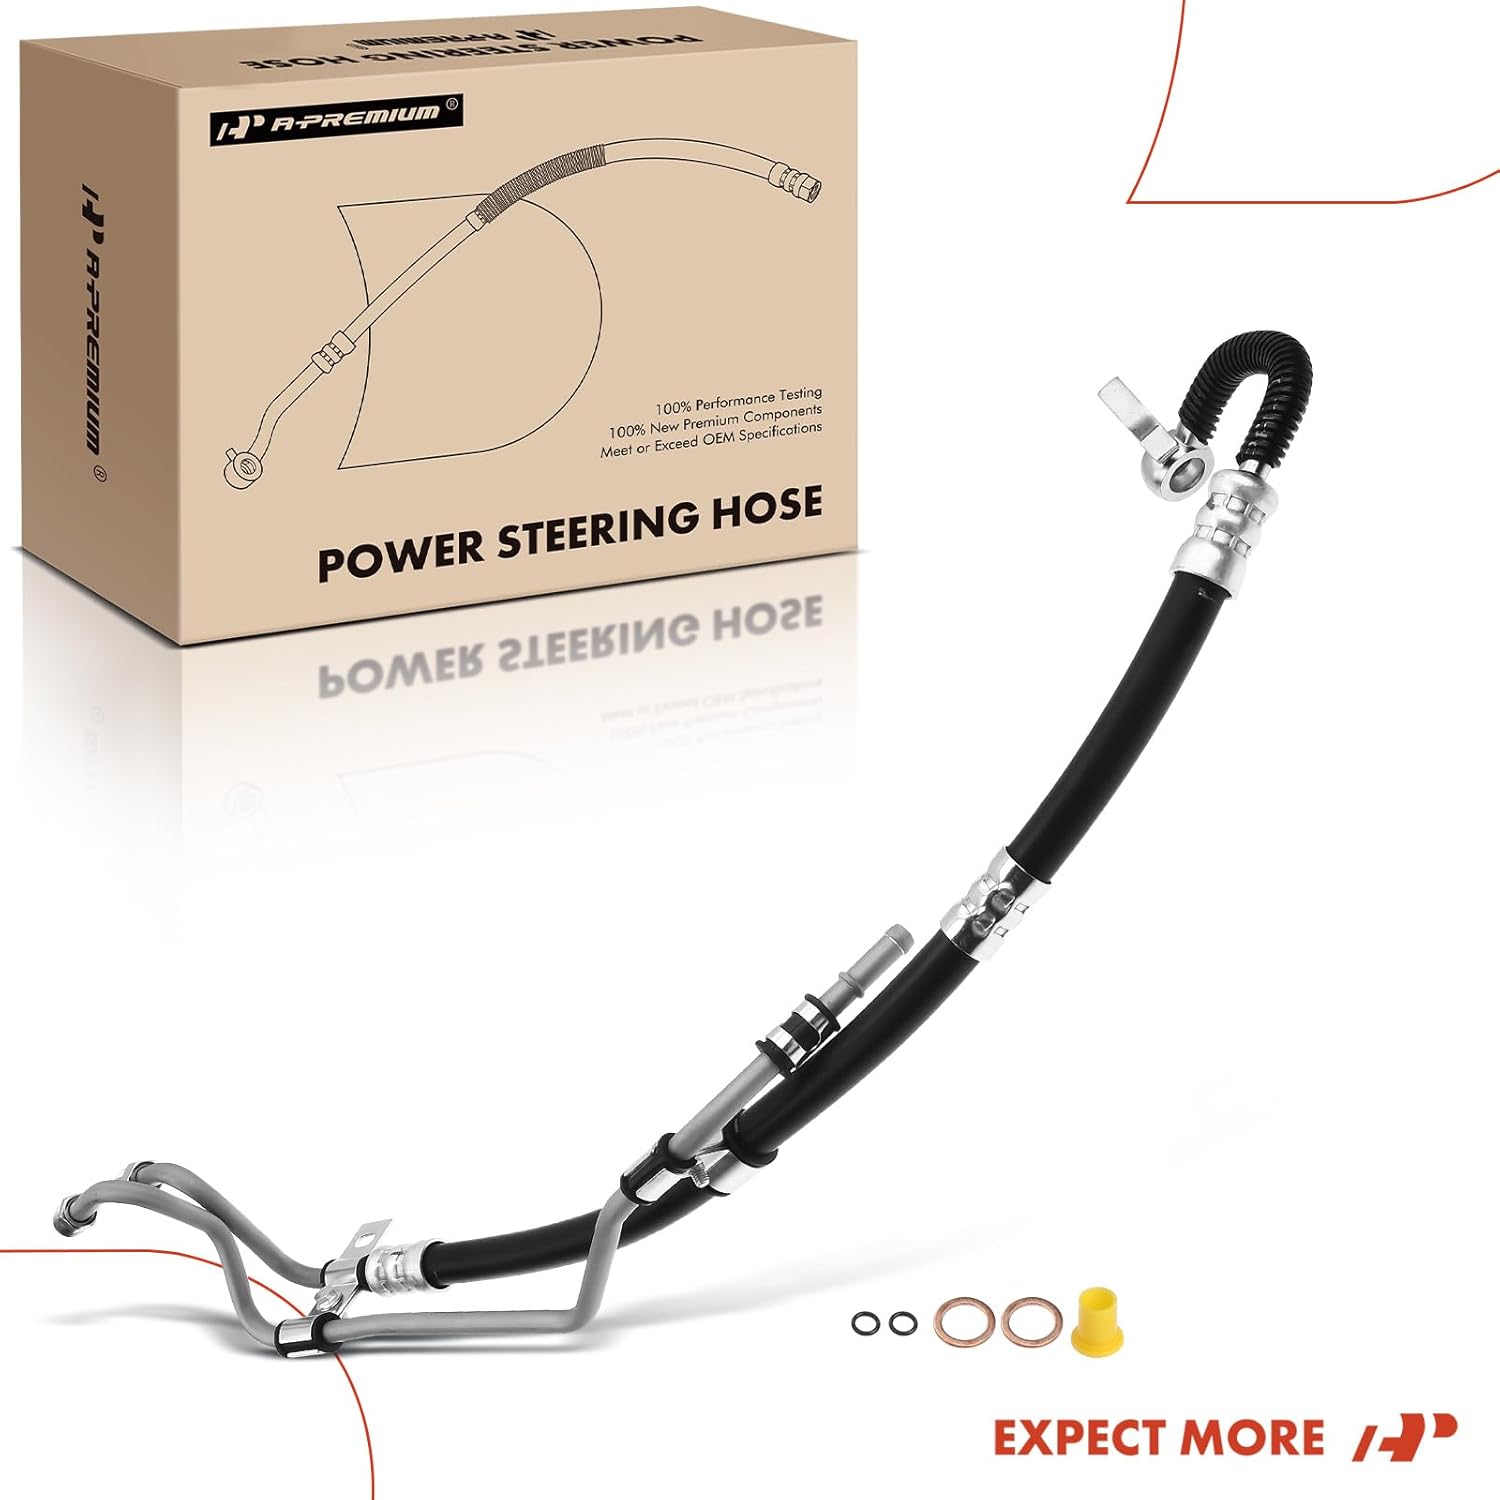


Descrição do Produto: A-Premium Power Steering Pressure
O A-Premium Power Steering Pressure é a solução ideal para quem busca eficiência e confiabilidade no sistema de direção de veículos Toyota Camry (2002-2009) e Solara (2004-2008) com motor L4 2.4L a gasolina. Este conjunto de mangueiras de pressão e retorno foi projetado para eliminar problemas de vazamento, um dos principais desafios enfrentados por motoristas e mecânicos. Com uma construção robusta em borracha de múltiplas camadas e tubos de aço galvanizado, o A-Premium garante a contenção segura do fluido hidráulico, mesmo sob condições extremas.
A mangueira é equipada com um mecanismo de bloqueio duplo, que assegura que não haja vazamentos, proporcionando uma experiência de direção suave e segura. Sua resistência a temperaturas extremas, corrosão e impactos a torna uma escolha confiável para quem busca durabilidade e desempenho. Além disso, o A-Premium Power Steering Pressure é fabricado de acordo com as especificações originais, facilitando a instalação e garantindo que você possa voltar a dirigir rapidamente.
Características do Produto:
– Compatibilidade: Toyota Camry 2002-2009 L4 2.4L Gas, Solara 2004-2008 L4 2.4L Gas
– Número de Referência: 3401183, 44410-06142, 4441006142
– Posição: Da bomba para a caixa de direção/reservatório/resfriador
– Pressão Máxima de Trabalho: 1.500 psi
– Classificação de Pressão de Ruptura: 8.700 psi
– Classificação de Resistência à Ruptura: 10.000 psi
– Resistência à Tração: 1.600 lb
– Garantia: Um ano sem limite de quilometragem
- Instruções de Uso:
Para instalar o A-Premium Power Steering Pressure, comece desconectando a bateria do veículo para evitar qualquer curto-circuito. Em seguida, remova a mangueira antiga, utilizando ferramentas adequadas para evitar danos ao sistema. Instale a nova mangueira A-Premium, assegurando que as conexões estejam firmes e seguras. Após a instalação, reabasteça o fluido de direção hidráulica conforme as especificações do fabricante e verifique se há vazamentos antes de ligar o motor. É recomendável realizar um teste de direção para garantir que o sistema esteja funcionando corretamente.
Perguntas Frequentes (FAQ):
Pergunta: O A-Premium Power Steering Pressure é compatível com outros modelos de veículos?
Resposta: Este produto é especificamente projetado para Toyota Camry (2002-2009) e Solara (2004-2008) com motor L4 2.4L a gasolina. Para outros modelos, consulte as especificações do fabricante.
Pergunta: Qual é a garantia oferecida para este produto?
Resposta: O A-Premium Power Steering Pressure vem com uma garantia de um ano sem limite de quilometragem, garantindo a qualidade e a durabilidade do produto.
Pergunta: Como posso saber se a mangueira está vazando?
Resposta: Verifique se há manchas de fluido sob o veículo ou ao longo da mangueira. Além disso, um aumento na dificuldade de direção pode indicar um problema no sistema de direção hidráulica.
Pergunta: É necessário substituir o fluido de direção hidráulica ao instalar a nova mangueira?
Resposta: Sim, é recomendável substituir o fluido de direção hidráulica para garantir o melhor desempenho do sistema e evitar contaminação.
Pergunta: Posso instalar a mangueira eu mesmo ou preciso de um mecânico?
Resposta: A instalação pode ser feita por um mecânico ou por alguém com experiência em manutenção automotiva. Se você não se sentir confortável, é melhor procurar um profissional.


Vladimir Nikolaevich –
When ever you buy an aftermarket part, many times I have to “adjust it” to get it to work. This fit as good as Oem part.
Ken Landry –
With all the good review, I took the plunge and got this set. When I removed the original and compare the hose, it does not have the exact same bend angle at the banjo bolt. It has angle outward more than the original which means it won’t be able to bend to the hole. As suggested by other reviewers, I loosen up everything and even try to install one hose first. No joy. This part is metal pipe, so it won’t be able to twist it to fit. I tried install on the banjo bolt first, but it hit the firewall and won’t be able to twist it to push in the steering rack. Wasted time and energy. This is 2003 Camry Japan built. Maybe US built would fit, I don’t know.
Alfonso barrios –
make sure the tab has the same exact length and orientation with your old line. i ended up cutting it because i can’t put the banjo bolt properly. it works good now, no leaks.
Ray –
Me sirvió mucho, gracias a esta aplicación, me ahorre mucho y si me sirvió la pieza
Ray –
Update: 1 week later, 0 issues. Very happy.
~~~
Review for Toyota Camry 2.4L 4cyl.
Fit great, but had some hiccups during install as a diyer. First, the part was oriented differently from oem. Then I realized the lines can be pivoted/flipped/rotated.
So when you take out the piece from your car, lay it down on the ground with the new part. Then adjust it by removing/flipping the brackets if necessary. For example, the brackets with the mounting points, make sure there are on the same side as your old piece. Then position all the brackets along the lines in the same position as the original.
The 2 brackets with bushings that mount on both lines, flip/orient them so that the 10mm bolt is accessible from the top side during the install. Then, keep them loose where the 2 lines can easily shift relative to each other. When you are under the car, you want to easily be able to move the lines independently, back and forth.
During the removal, I thought it was easiest to do it in this order.
1. Remove the 2 nuts (17mm wrench) from the steering rack (big first, then small)
2. Remove the 12mm nut/bolt from the mounting points
3. Remove the 17mm bolt from the other end connected to the pump
For install, I think this is best.
0. Grab your 12mm nut, 12mm bolt, 12mm socket/rachet, 10mm socket/racket, 17mm wrench, 11/16 wrench (the slightly bigger one is easier to use for the 2 17mm bolts on the rack).
1. Lay down under the car, with your head toward to the front, in the middle of the car, slightly offset towards the passenger side. You should be able to visually see the steering rack area.
2. Fish the assembly through the passenger wheel well with your left hand, and grab it from your right hand, fishing the whole assembly through. Since the 2 bracket/bushings are loose, it should be easy to rotate/move it around to get the clearance.
3. There are 2 mounting points on the rack. The bracket on the single line, attaches to a stud, then it locked in with the 12mm nut. The double bracket uses the 12mm bolt. Attach the single bracket to the stud and push the mounting bracket flush to the surface. Loosely hand thread in the 12mm nut.
4. Position the other mounting bracket on the steering rack, and loosely hand thread in the 12mm bolt.
5. At this point, both mounting brackets are attached to the rack, but they are loose. The 2 brackets on the assembly connecting the 2 hoses are also loose. Therefore the 2 hoses should be able to shift back a forth.
6. Now, pull the 2 ends (they should have the orings on there), into the rack and hand thread in BOTH 17mm nuts. They should go in fairly easily with a couple rotations.
7. Now use your 17mm wrench to tighten the SMALL nut. As it goes all the way, you might need to loose the bigger 17mm nut. Loosen as needed, or completely loosen. Then finish torquing down the small nut.
8. Now hand thread, then tighten, the fully torque, the big 17mm bolt.
Now installing the 17mm bolt through the eye is going to be frustrating. If the eye is not directly planar with the mounting surface, the bolt isn’t going to hand thread.
First, I recommend hand threading that bolt without the eye, just to feel how easy it is. Make sure that when you actually install with the eye, the bolt goes in just as easily. Don’t get tempted to force it, as the risk of cross threading is high.
So the reason why the eye isn’t going to be planar, is the length of the hose makes it very hard. You’re going to have to have one hand push the hose very hard to force the eye to be parallel. I recommend looking from the passenger wheel well towards the bolt, here you will easily see that the eye bolt isn’t planar.
So recap:
1. Hand thread the 17mm bolt, without the eye or washers, into the PS pump, just to get a feel for how easy it should be.
2. Next, with your head in the passenger wheel well, looking in towards the PS pump, you should see where the eye mounts. Position the eye on this spot, and just push the bolt in, so that the bolt catches on the hole. Don’t worry about the washers yet. Just look at how the bolt is naturally off center with the hole, because the eye pulls on the bolt.
3. Now with your right hand, reach in and grab the hose, and push up, so that the eye is now somewhat more flush with the surface.
4. All right, so you’re gonna have to do this with the whole bolt and washers now. The other washer is gonna keep falling off.
All right so on the the install
0. On the entire assembly, all of the mounting points and brackets with the double bushings should still be loose.
1. Front the inside of the car, or from the passenger side, put the bolt-washer through the eye, the add the other washer.
2. Hold the bolt so the head is all the way against the eye, and hold the washer so it doesn’t fall out
3. Position the bolt now so that it rests on the hole
4. Look from the passenger wheel well, towards the PS. Make sure you actually see the eye and bolt. Notice that the eye is again not planar with the mounting surface.
5. Just like from earlier. Get your left hand, and put it on the bolt so it doesn’t fall, and prepare to hand thread. Use your right hand and push that hose up hard. DON’T hand thread until you see the eye flush/planar. Then hand thread. Remember, the hand threading should be EASY.
6. Now use a breaker bar from the top to completely torque it down. I ended up using a rachet with 17mm socket, and a small extension. Then had someone else from the top of the car, use a breaker bar with a socket, the slipped over the rachet. I was at the bottom of the car, holding the rachet on the bolt, while the torqued it.
Last step
– Tighten all the mounting points (2x 10mm on the double brackets, and 2x 12mm on the mounting to rack nut/bolt)
Dave –
I brought it from Amazon and it’s completely fit in my Toyota Camry SE. perfect parts.
ian dcb –
Hey, everybody. Received the goods and have already installed. Here is the information about the product. If you don’t remove the steering rack, you will have to work hard to get it to fit. This is if you don’t remove the steering rack. Because it’s hard to match and screw everything together. And it’s hard to get the old hose off. It’s just not very convenient. But I did not remove the steering rack and unscrewed both top and bottom. it took me about 5 hours. But I installed everything and I’m satisfied. The product itself is very high quality. no different from the original. If you remove the steering rack everything will be installed very quickly. But it will take more time. and additional costs. such as camber and other things. I recommend this product to everyone. but also, a lot of patience when replacing.
Excelente producto.Le cayó perfectamente al auto –
Right part
Cant beat the pricetag
K. R. –
Excelente cayó perfectamente en mi auto y de buena calidad