 Frete Grátis em todos os produtos


### Descrição do Produto
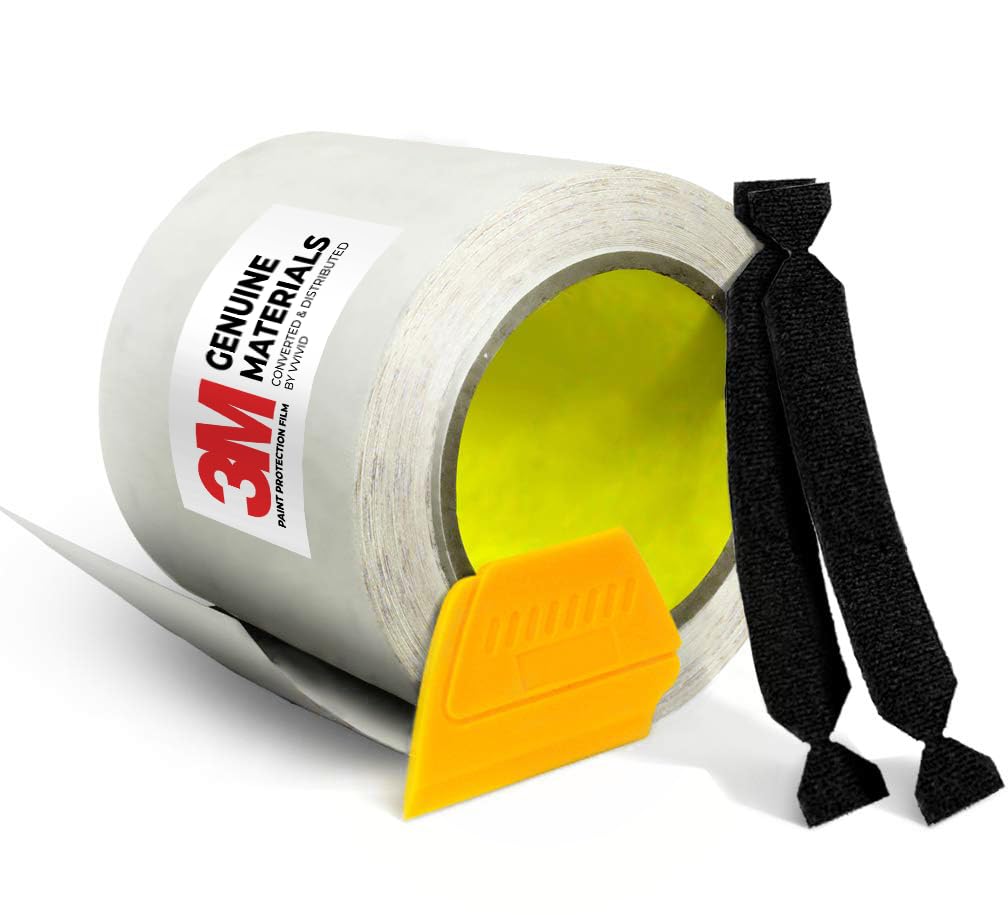
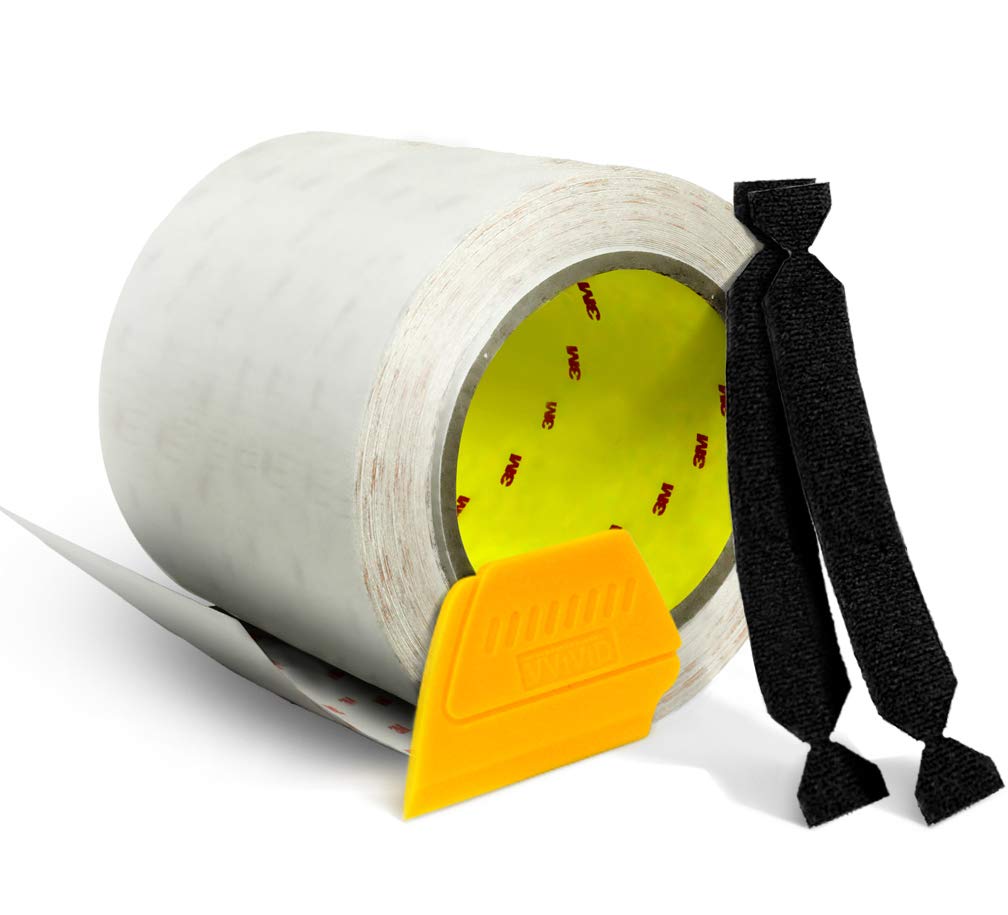
O Filme de Proteção de Pintura Transparente 3M é a solução ideal para quem deseja preservar a beleza e a integridade da pintura do seu veículo. Com uma largura de 6 polegadas e disponível em tamanhos variados, este filme de poliuretano é praticamente invisível após a instalação, garantindo que a estética do seu carro permaneça intacta. Com uma espessura de 8 mil, o filme possui um adesivo de alta qualidade que se adapta perfeitamente às superfícies, proporcionando uma proteção robusta contra lascas de tinta, arranhões e danos causados por detritos da estrada.
A instalação do filme 3M Scotchgard é simples e eficiente, permitindo que você mantenha a pintura do seu carro com aparência de nova por muito mais tempo. Este produto não só protege, mas também valoriza o seu investimento, evitando que pequenos danos se transformem em problemas maiores. Além disso, o kit inclui ferramentas essenciais, como o VViViD Toolkit, que contém um Raspador Detalhador Amarelo e 2 Decalques de Feltro Antirrisco VViViD, facilitando ainda mais o processo de aplicação.
### Instruções de Uso:
1. Preparação da Superfície: Limpe a área onde o filme será aplicado com um detergente suave e água. Certifique-se de que a superfície esteja seca e livre de poeira ou graxa.
2. Corte do Filme: Meça e corte o filme de proteção no tamanho desejado, utilizando as ferramentas do kit para garantir um corte preciso.
3. Aplicação do Filme: Remova a película protetora do adesivo e posicione o filme na superfície do carro. Utilize o raspador detalhador para alisar o filme, removendo bolhas de ar e garantindo uma aderência uniforme.
4. Finalização: Após a aplicação, verifique se todas as bordas estão bem fixadas e faça os ajustes necessários. Deixe o filme curar por pelo menos 24 horas antes de expor o veículo a condições climáticas adversas.
### Características do Produto
– Material: Filme de poliuretano transparente de alta qualidade.
– Espessura: 8 mil, proporcionando resistência superior.
– Adesivo: Alta adesão, garantindo durabilidade e proteção.
– Transparência: Praticamente invisível após a instalação, mantendo a estética do veículo.
– Kit Inclusivo: VViViD Toolkit com raspador e decalques antirrisco para facilitar a aplicação.
– Proteção: Reduz danos causados por detritos da estrada, arranhões e lascas de tinta.
### Perguntas Frequentes (FAQ)
Pergunta: O filme de proteção é realmente invisível após a instalação?
Resposta: Sim, o filme de proteção 3M Scotchgard é projetado para ser praticamente invisível, mantendo a aparência original da pintura do seu veículo.
Pergunta: O que fazer se surgirem bolhas de ar durante a aplicação?
Resposta: Utilize o raspador detalhador incluído no kit para alisar o filme e remover as bolhas de ar. Se necessário, você pode fazer pequenos furos nas bolhas para liberar o ar.
Pergunta: Quanto tempo dura a proteção do filme?
Resposta: Com os cuidados adequados, o filme de proteção pode durar vários anos, mantendo a pintura do seu carro em excelente estado.
Pergunta: Posso aplicar o filme em qualquer parte do carro?
Resposta: Sim, o filme pode ser aplicado em diversas superfícies do veículo, incluindo capô, para-lamas e para-brisas, desde que a superfície esteja limpa e seca.
Pergunta: O filme pode ser removido sem danificar a pintura?
Resposta: Sim, o filme de proteção 3M é projetado para ser removido facilmente sem danificar a pintura original do veículo, desde que seja feito corretamente.


PJ –
Good, clear frame protection – spend a little bit of time and save $$$ in avoiding “custom” kits. Understandably, works best on straight “tubes”…
(1) *PRACTICE* on a piece of pipe first… something you don’t care about vs your prized MTB. I used a the handle portion of a hardcart/dolly … Learn how to apply it AND remove it…
(2) Use a spray bottle of a few drops of dish soap and water – TBH, the wetter the better… KEEP THE SURFACE WET… once it starts to stick… well, the rest of it isn’t going to move either
(3) Work out the bubbles with your finger/thumb; working outward from the center – again, a “straight” tube is best whether for practice or your bike’s frame… bends in the frame will leave gaps in the vinyl… (forget the squeegee, use your finger/s to work out bubbles…)
(4) Once you get the process down, use a newspaper to cut a template, then trim the vinyl to match – round the edges to avoid/prevent “pull-ups”… In my case, with 3 bottle cage screws on the top of the downtube, I left about a 1” gap at the top… Once it dries in place, the seams are nearly invisible.
(5) Remember what I said about “keep it (your target) wet”? Once you peel the vinyl from its backing and begin to center it on your frame… keep your spray bottle handy and use it often… if you do, the vinyl will slide around easily.
(6) When the “rubber meets the road” (and you are putting this on your MTB), a good helper is invaluable. one that can spray the frame when/where you need it (so you don’t have to stop what you are doing), point out bubbles that you missed, help squeegee others out, make sure the piece is straight/even, etc.
(7) You will likely get out 95% of the bubbles – focus on the big ones, working from the center outward… the smallest ones will disappear when it dries. Learn to live with “some” – at some point it’s going to dry and you’ll be chasing your tail… so focus on the big ones and work smaller…
(8) Once you are satisfied/done, leave your bike alone for a few days … let it dry before subjecting it to the beating of a trail and NEVER use a power washer on it – it is bad for your seals anyway and can pull up a corner of the new vinyl you just applied which then sticks to dirt, pollen, etc. and looks horrible.
Norm Sanders –
We purchased several of these to cover our window sills, specifically as our dog likes to put her paws on them to look out various windows. (1) of (3) that we purchased had come damaged (either heat via shipping and/or during production) that curled a portion of the film mid-section, making the overall strip as-is unusable for our needs, but we were able to get a refund & purchase another.
Overall, this is a FANTASTIC product! Comes with necessary tools for installation, but it’s honestly a fairly forgiving enough product that depending on the application you can simply do it by hand.
NO bubble issues whatsoever, which really impressed us!
NOTE: it has some stretch to it, so you should be okay to cut SLIGHTLY short of your need, knowing that as you apply & smooth, it stretches. Leaves a nice gloss look to whatever you’re applying it to, but not too glossy. It’s otherwise nearly invisible.
Victor Gamiochipi –
Muy buena calidad de cinta, si la instalas con agua y jabón te permite que no queden burbujas de aire y el acabado final es muy bueno por la trasparecía de la pelicula
Mel –
I have ordered and used the same before. Product is very good. This time I received a wrong item (see image)
Bacon –
I used this product to wrap my carbon fiber mountain bike to great success. This film is holding up better than the film that was applied by my bike manufacturer. This film works really well around the chain stays of my bike, and protect the paint from the constant rubbing of my back shoe. I also applied this to my carbon cranks for the same reason, and it is holding up very well. Even if I have to replace this film in 6 months I would call it a success.
Plan your placement ahead by templating the shape you want with construction paper. Transfer the outline of the shape you want to the film and cut out your shape. Spray your working surface with a soap and water solution and apply your film. Take your time and go slow. Use a blow-dryer to speed up the process or promote better adhesion around corners and sharper edges. Don’t try to do large complex shapes that cant be installed without folding.
Mel –
Easy application
Looks great
Great product
Gail Co –
Good
Shetnick –
Thin and stretchy enough to conform to lightly curved objects. Works very well. I applied it on the sliding surfaces of goalie pads using a hair dryer to warm it a bit. Great results!